
Follow the Frozen Footsteps
Creating the Axe
Hello,
My name is Stephanie Verner, Environment, Prop Artist and Lighting Artist for Team Frostbite. Today I'll be going over how I created the Axe asset seen in our game Follow the Frozen Footsteps.
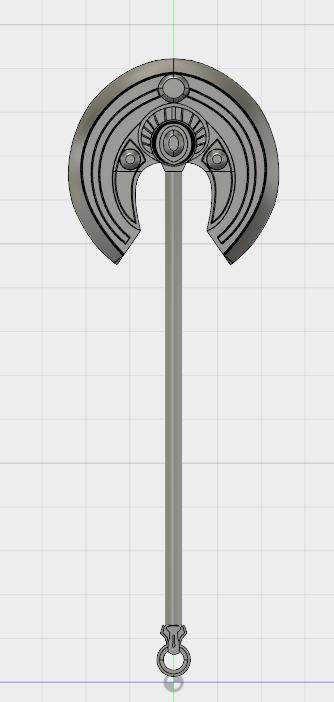
I first found reference for my axe, then modeled the “base” High Poly (model that has many polygons) in Fusion 360. In ZBrush I added surface detail and the leather on the handle of the axe. After finishing the High Poly, I moved on to creating the Low Poly in ZBrush by retopping. Retopping is a process where the artist tries to get the low poly to have the least number of polys, so it can run smoothly in a game engine. In Substance Painter I created the maps and textured.
It was very satisfying to texture my axe to tell a story. For example, the handle has worn & oily areas where the hands would go while wielding the axe. Oxidation was the next step to push the story and model. Adding dirt in areas where the wind would have been setting on the axe from use. I ran into a few problems trying to push the story when texturing but adding masks I created allowed me to personalize the dirt and wear by being able to place it not all over put in cavities and edges.
Below you will see a variety of images detailing my process from the start to the final product.
----------------------------------------------------------------------------------------------------------------------------------------------------------------------
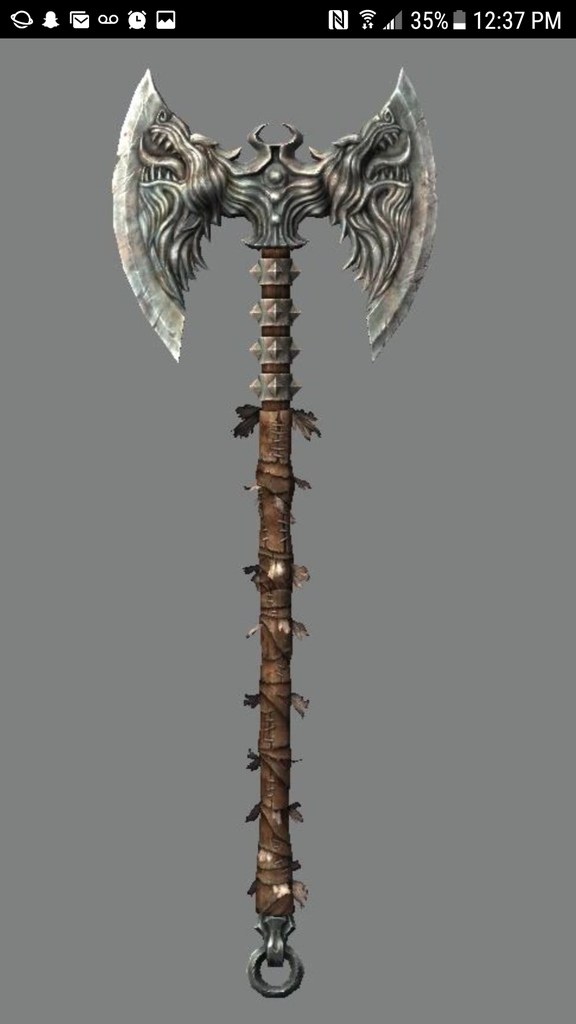
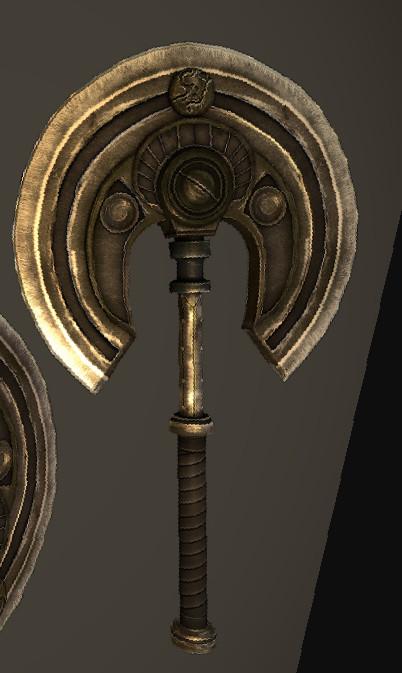
Axe Reference – First image I referenced the handle for the axe. Second image is reference for the top of the axe.
High Poly Base Axe
Axe with leather handle added and spikes

First Pass of Texturing
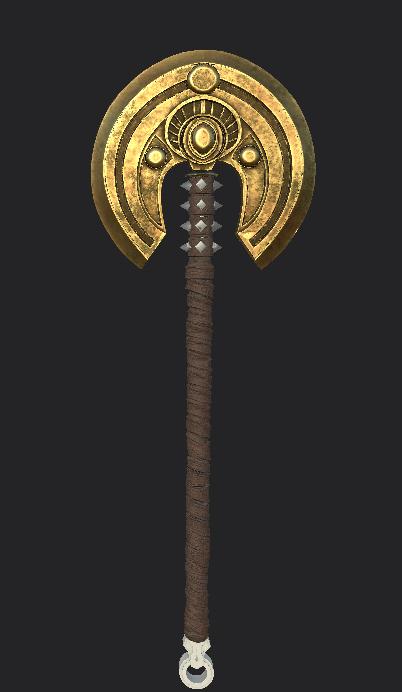
Final Axe with Details for Extra Story

Comments
Log in with itch.io to leave a comment.
This looks amazing!